There are times when you only want your closest friends to be able to view your private thoughts on Twitter. Fortunately, Twitter has a helpful feature that allows you to change your account status from public to private and back again, as often as you desire!
When your account is public, it means that your Tweets can be seen by anyone on the platform that you haven’t blocked. When it’s private, only the people that you’ve allowed to follow you can see your posts.
Why Switch Your Twitter Account From Public To Private?
Why would you want to be able to switch your status back and forth? One common reason is that you’ve been applying for jobs. Companies often look up prospective hires’ social media accounts, and making your Twitter account private ensures that their decision isn’t influenced by your posts.
Another reason is to avoid sparking arguments with trolls or bots in your replies. When your account is private, only the people you’ve selected to be in your circle of followers can reply to your posts.
Finally, you may just want to take a hiatus from Twitter and avoid generating a lot of attention from engagement. Whatever your purpose, though, if you want to make your account public again, you can do so at any time.
How To Make Twitter Account Public and Private on a Desktop
Ready to make use of this tool? Let’s start by guiding you step-by-step through how to make your Twitter account public and private on a desktop computer.
Step #1: Open your preferred web browser and visit twitter.com. Proceed to log in to your account.
Step #2: If you’re using a desktop, locate the “More” option. Then, access “Settings and Support” and choose “Settings and Privacy.”

Step #3: Opt for “Privacy and Safety” and proceed to the section labeled Audience and Tagging.

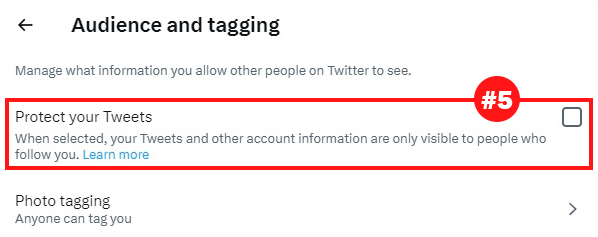
Step #4: Tick the checkbox adjacent to “Protect your tweets.” This action will switch your account to a private status, ensuring enhanced privacy.

Step #5: If you wish to revert to a public account, simply follow the above steps and untick the checkbox adjacent to “Protect your tweets.”
How To Make Twitter Account Public and Private on Mobile
Did you know you can also change your Tweets’ visibility status on your iOS or Android mobile phone? Follow these steps to do it in a matter of seconds.
Step #1: Open the Twitter app and login to your account.
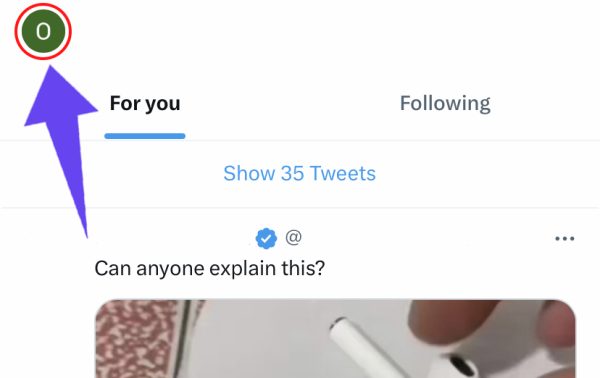
Step #2: Tap your profile picture in the upper left-hand corner on the screen.

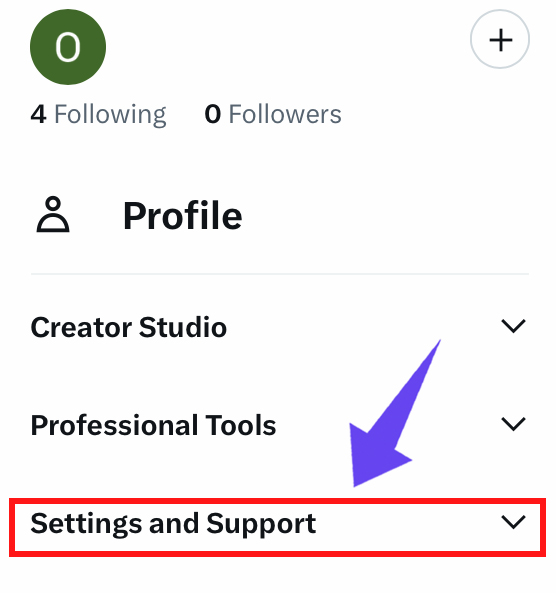
Step #3: Scroll down the left-hand menu and tap Settings & Support.

Step #4: Tap Settings and Privacy.

Step #5: Tap Privacy and Safety.

Step #6: Tap Audience and tagging.

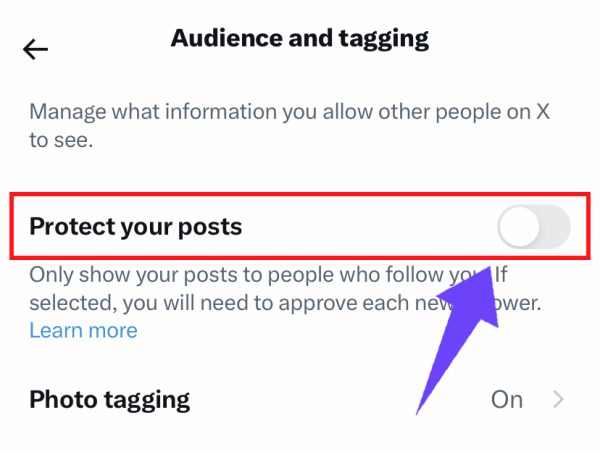
Step #7: Tap the toggle button next to Protect your posts to make your account private.

Step #8: Repeat steps 1-7 to revert your account back to public status.
How To Make Twitter Account Public and Private on iPad
Finally, here’s how to make your Twitter account public and private on your iOS-powered iPad.
Step #1: Open the Twitter app on your iPad and login to your account.
Step #2: Tap the More button on the left-hand menu (the three horizontal dots).
Step #3: Tap Settings & Support.
Step #4: Tap Settings and Privacy.
Step #5: Tap Privacy and Safety.
Step #6: Tap Audience and tagging.
Step #7: Tap the toggle button next to Protect your posts to make your account private.
Step #8: Repeat steps 1-7 to revert your account back to public status.
Frequently Asked Questions
How do I Know if My Twitter Account is Public or Private?
You’ll know that your Twitter account is private if there is a lock symbol next to your name on your profile. You should also notice a downturn in engagement, since only your followers can interact with your Tweets.
Why is there a Lock Symbol on My Twitter Profile?
The lock symbol indicates that you’ve made your Twitter account private. When you reset it back to public, the lock symbol will go away.
Conclusion
Take control over your Twitter account by choosing who gets to see your Tweets and when. Switch it back and forth between public and private status as often as you need to accomplish your goals.

